A downloadable version of this guide is available below!
Download the Konica Minolta Mobile Print App from the App Store

Launch the newly downloaded on your iPhone or iPad and complete the default registration (You do not need to allow the app to use Bluetooth)
From the Main Dashboard, select the printer icon in the top right of your screen and then Manual setup

Enter the IP Address of your Branch office printer and then press search. You will need to obtain this information from the Branch Administrator.


Once the printer is added to the app, you will receive a confirmation. Select OK

You will then be asked if you want to register authentication information. Select OK

You will then be prompted to enter your secure print ID. Enter your ID under the Department Password field. Your Secure Print ID can be found on your password sheet listed as your Copier Code.
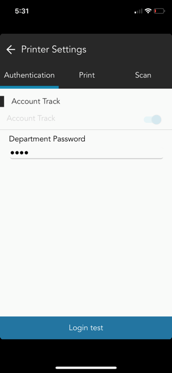
Click login Test to confirm you have entered the correct code. You should receive a Log in Successful message.

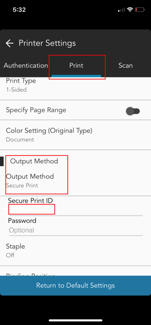
Select the Print Tab. Locate the Output Method and Change it from Print to Secure Print. Enter your Copier Code in the Secure Print ID Field. All other options can be left as default. When you are finished, click the arrow button at the top to take you back to the Main Dashboard.
Congratulations, you should now be ready to print from your iPad or iPhone to your branch office's main printer!